|
プロパティタブやインスペクションタブを使ってメッシュの部分ごとの表示/非表示を分けたときに、表示したCell(表面メッシュならFace)のみを変換の対象とする機能をここでは紹介します。 |
-
変換対象のCellのみを表示状態にする
-
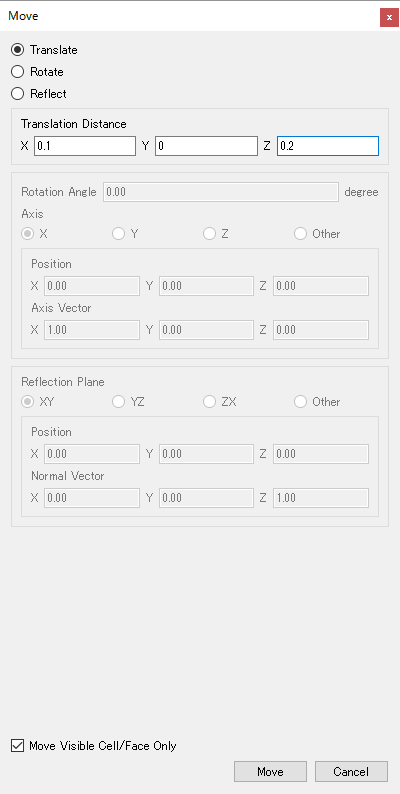
[メニューバー]→[Edit]→[Move]または[Scale]または[Copy]
-
変換用の各種パラメータ設定
-
Move(またはScale, Copy) Visible Cell/Faceにチェックを入れる
-
変換を適用するボタンを押す
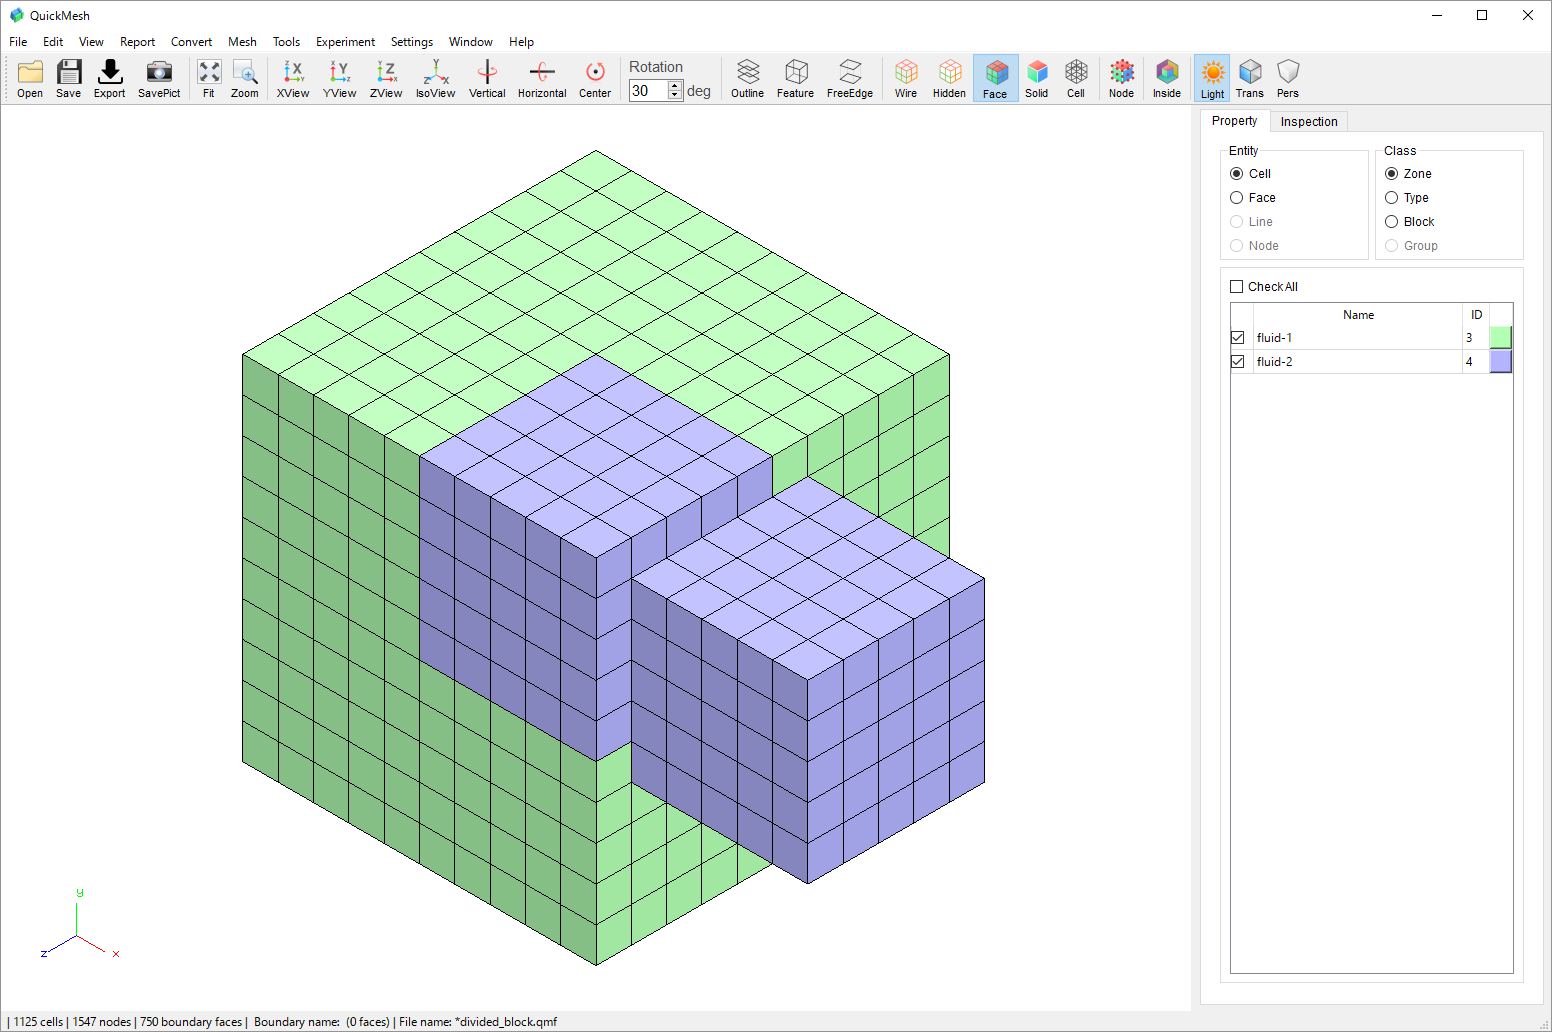
可視部分のメッシュを移動する
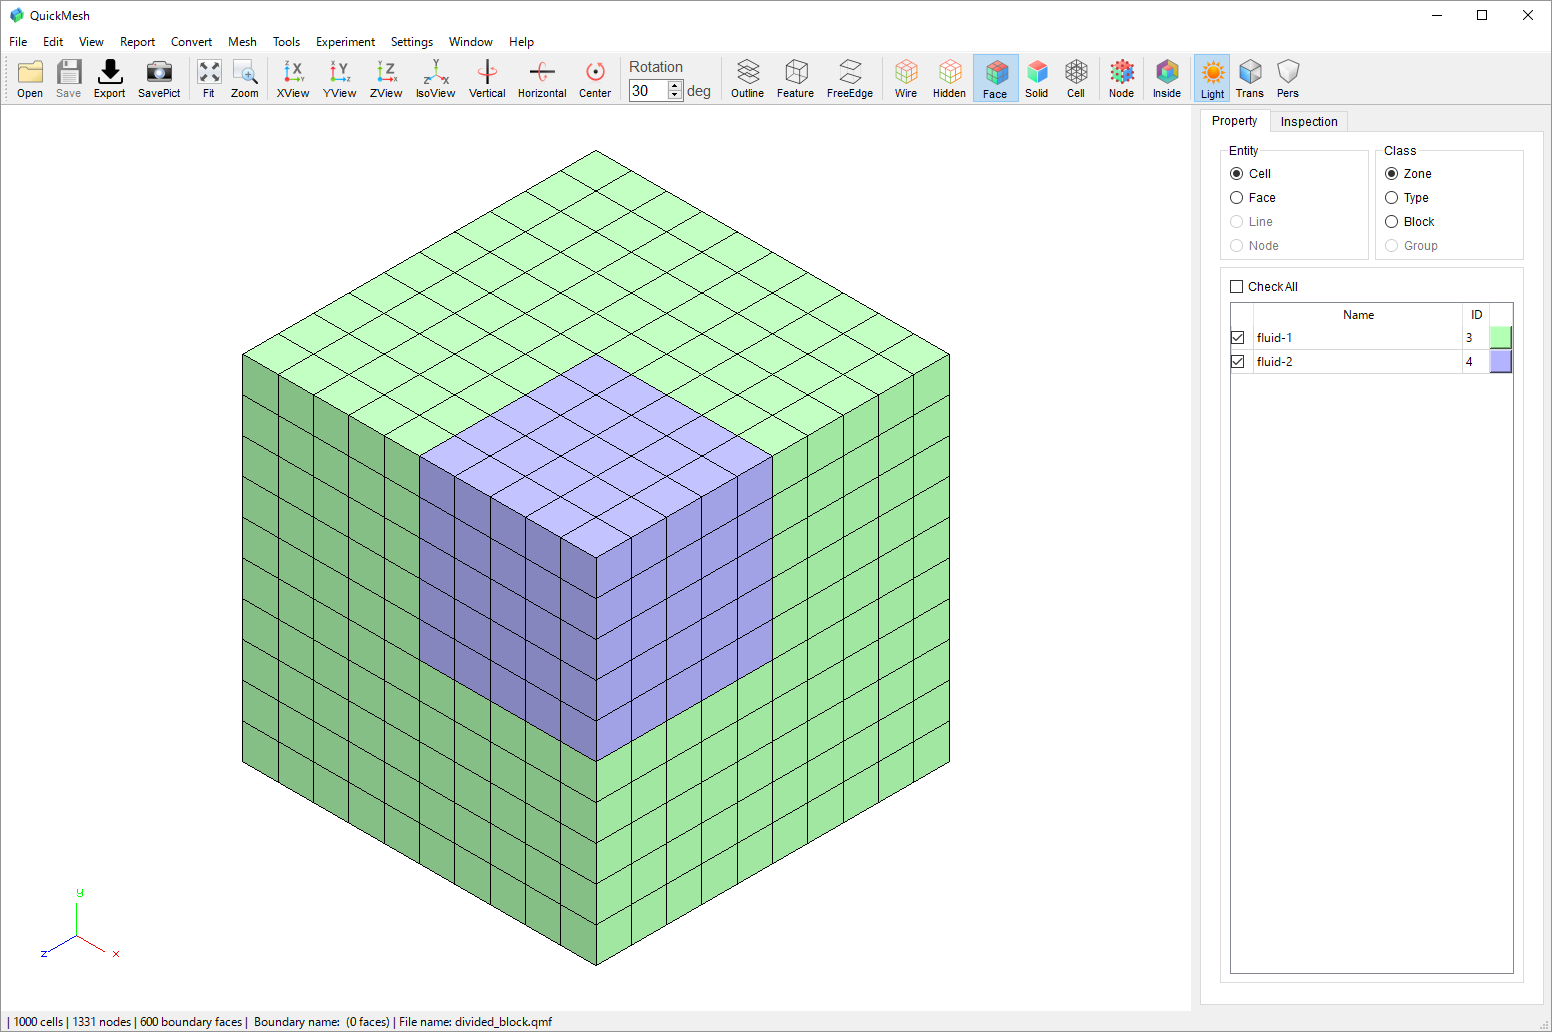
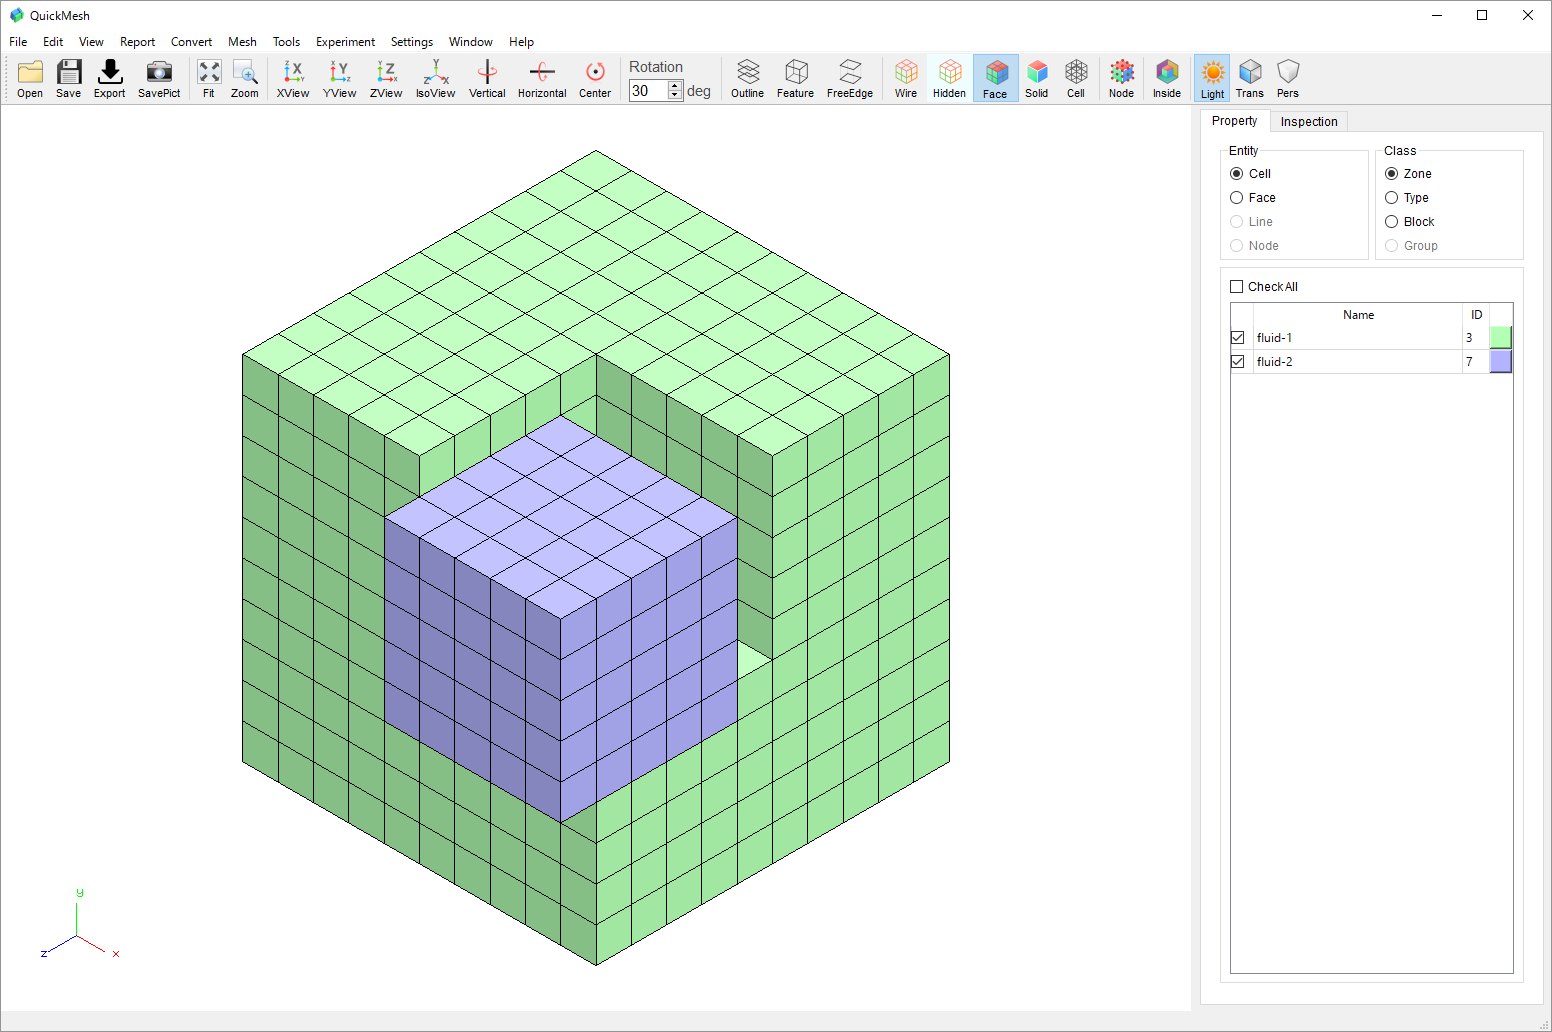
図のようなメッシュに対して CellZone のfluid-2のみを移動する変換をします。
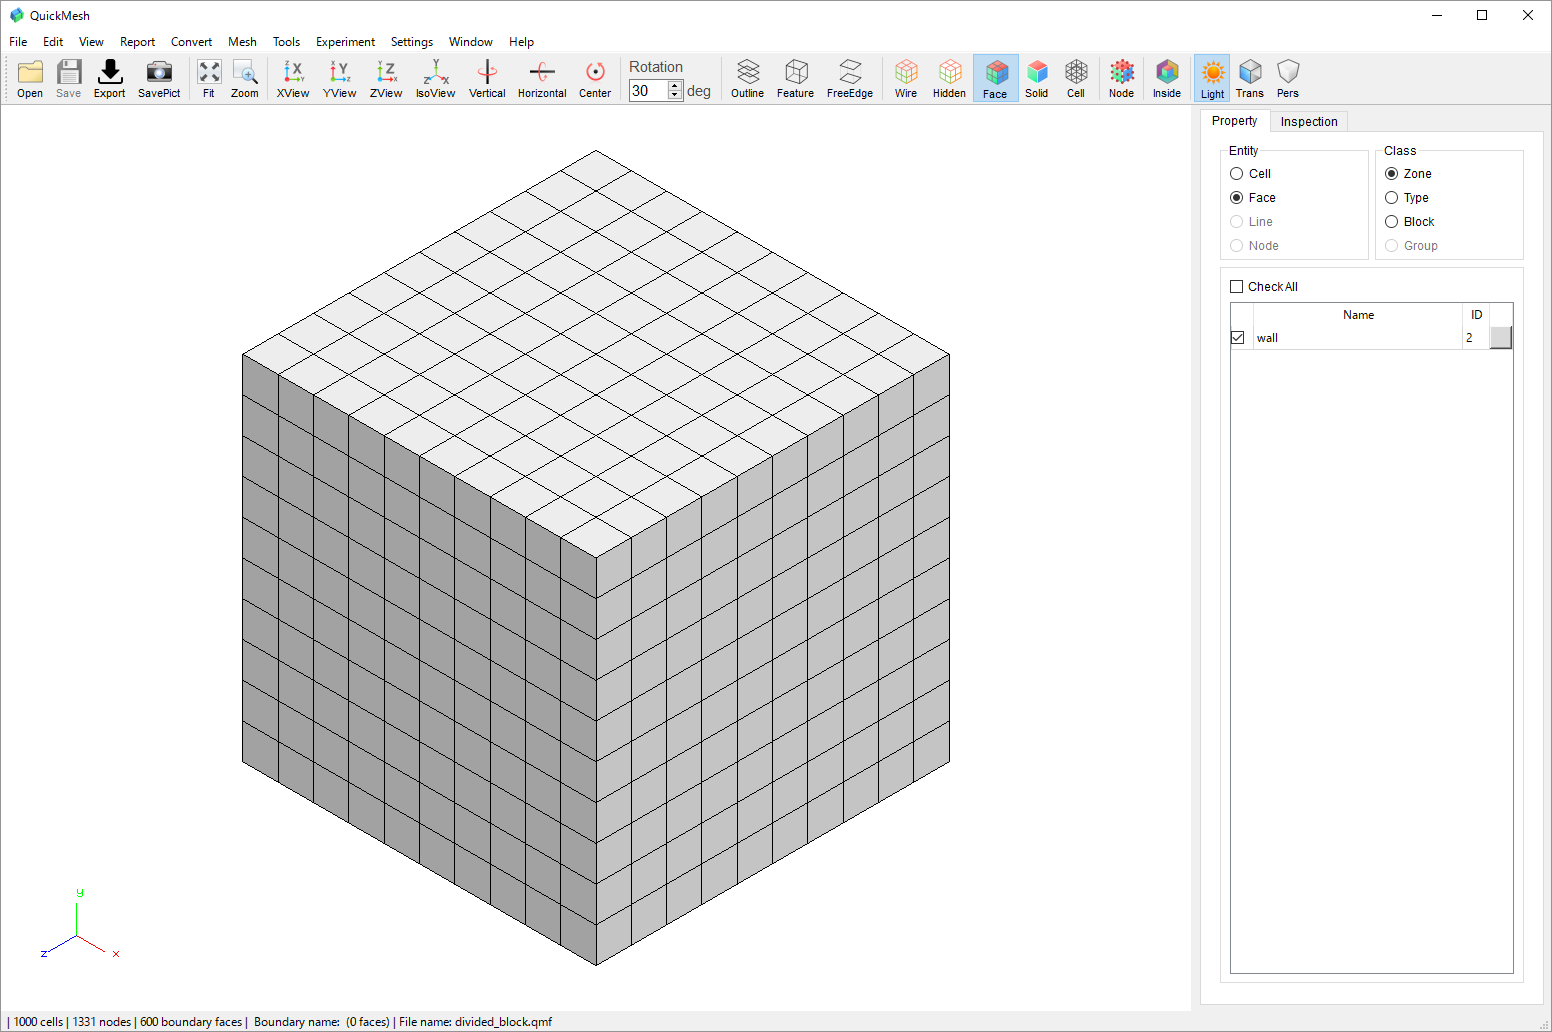
なおこのメッシュの FaceZone は移動前は一つのみです。
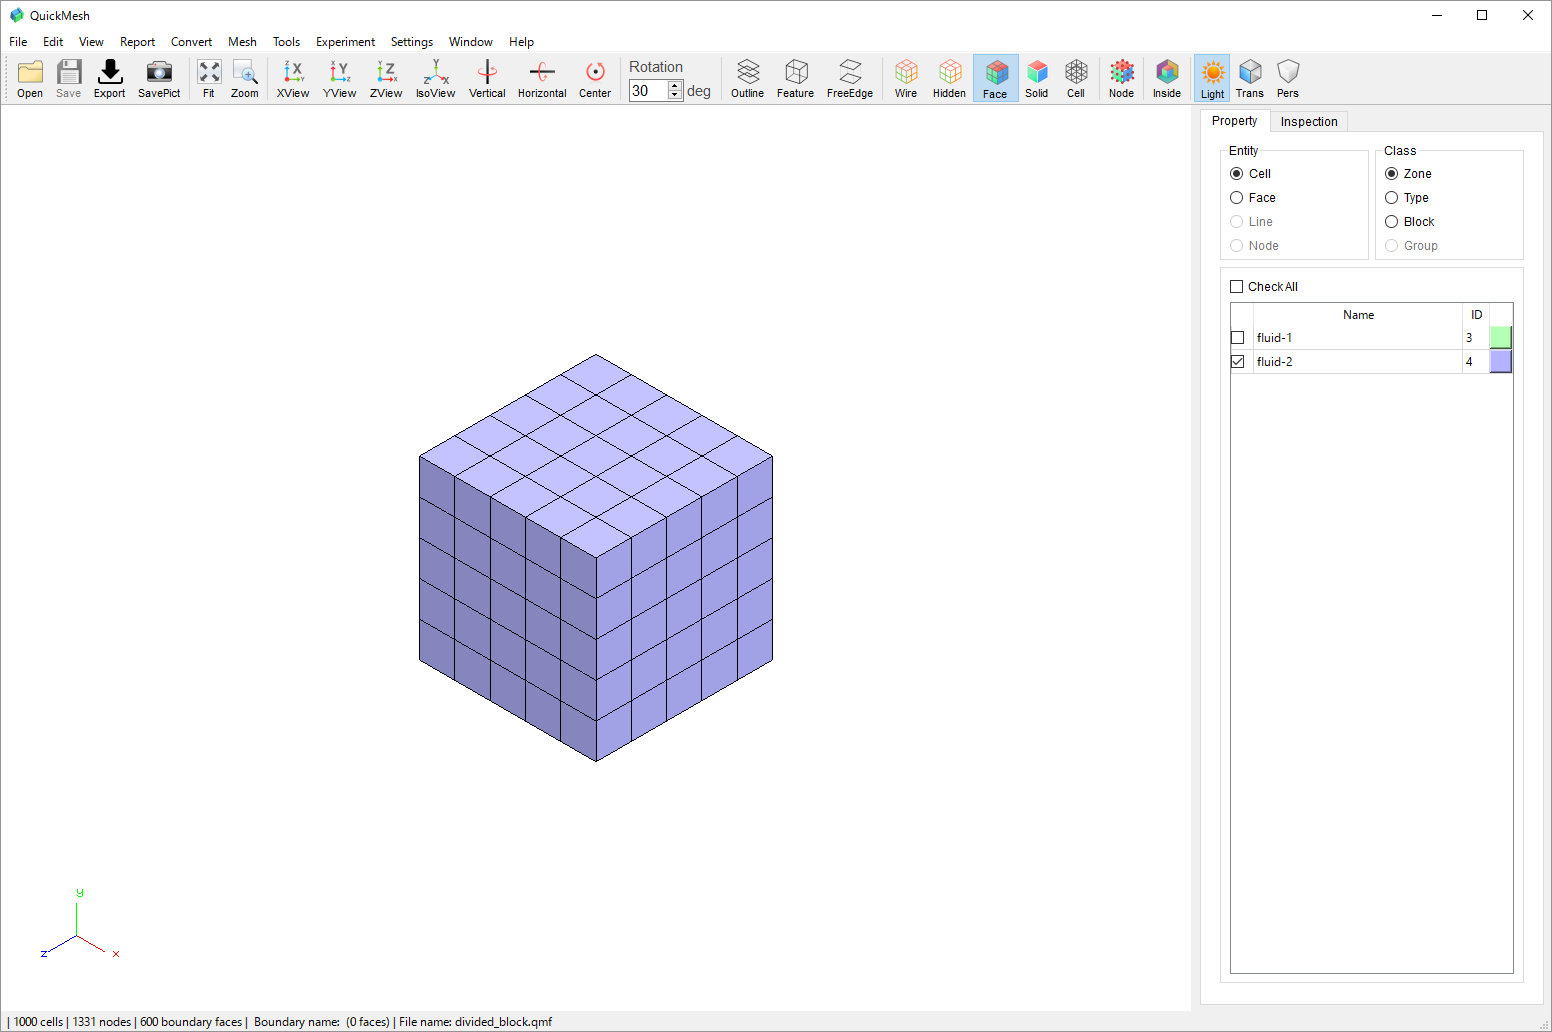
プロパティタブのEntityがCell、ClassがZoneになっていることを確認して、リストのチェックボックスのON/OFFを切り替えてfluid-2のみを可視状態にします。
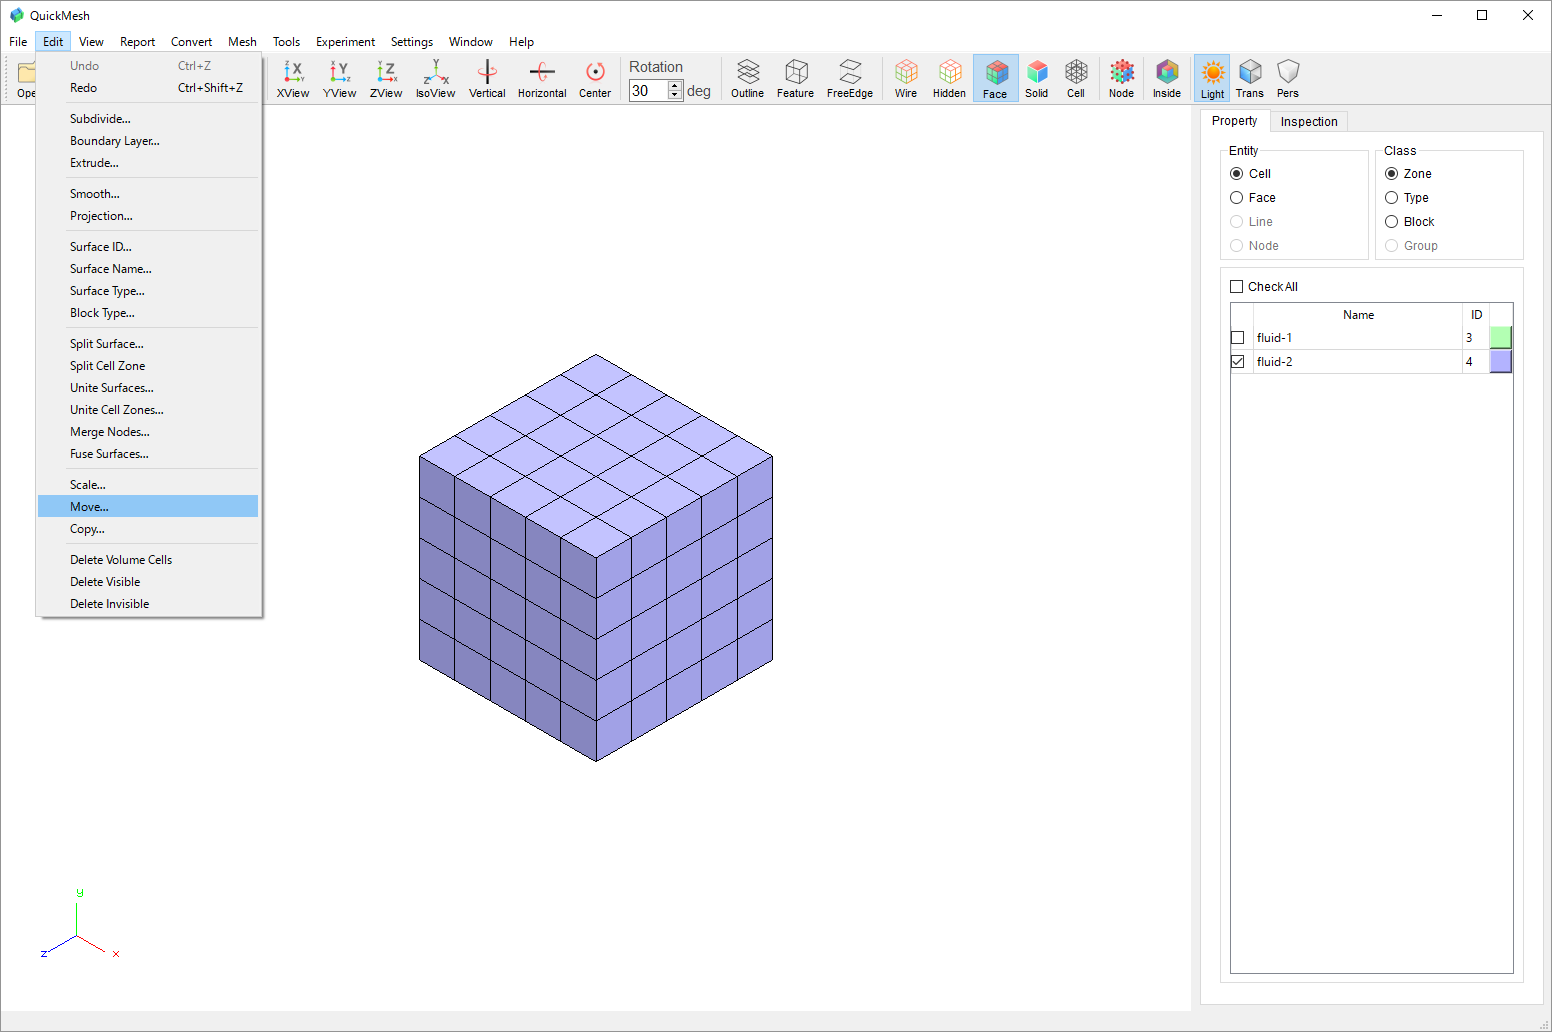
メニューバーのEdit→Moveを選択します。
設定ウィンドウで移動のパラメータを入力しMove Visible Cell/Face OnlyをONにし、Moveボタンをクリックします。
プロパティタブで再びメッシュ全体を可視状態にするとfluid-2のみが移動していることがわかります。
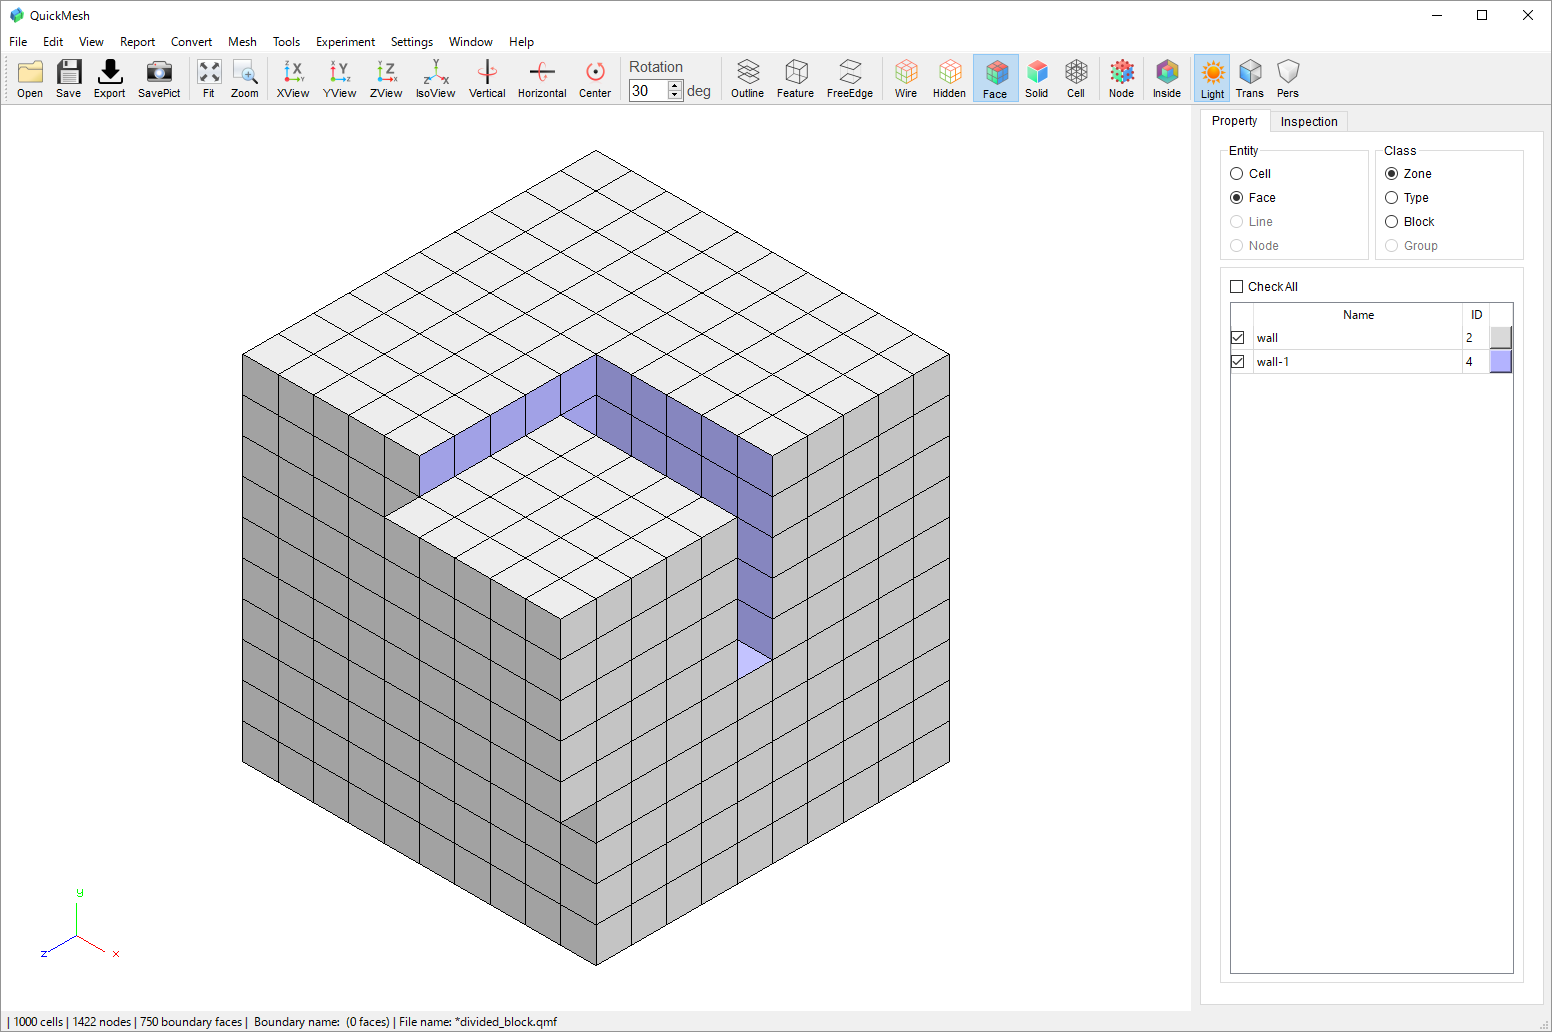
また、FaceZoneを確認するとCellZone移動によって分離され新たに生じた境界面がFace Zoneとして追加されていることがわかります。
可視部分のメッシュを複製する
移動と同様に図のようなメッシュに対して CellZone のfluid-2のみを複製する変換をします。
プロパティタブのEntityがCell、ClassがZoneになっていることを確認して、リストのチェックボックスのON/OFFを切り替えてfluid-2のみを可視状態にします。
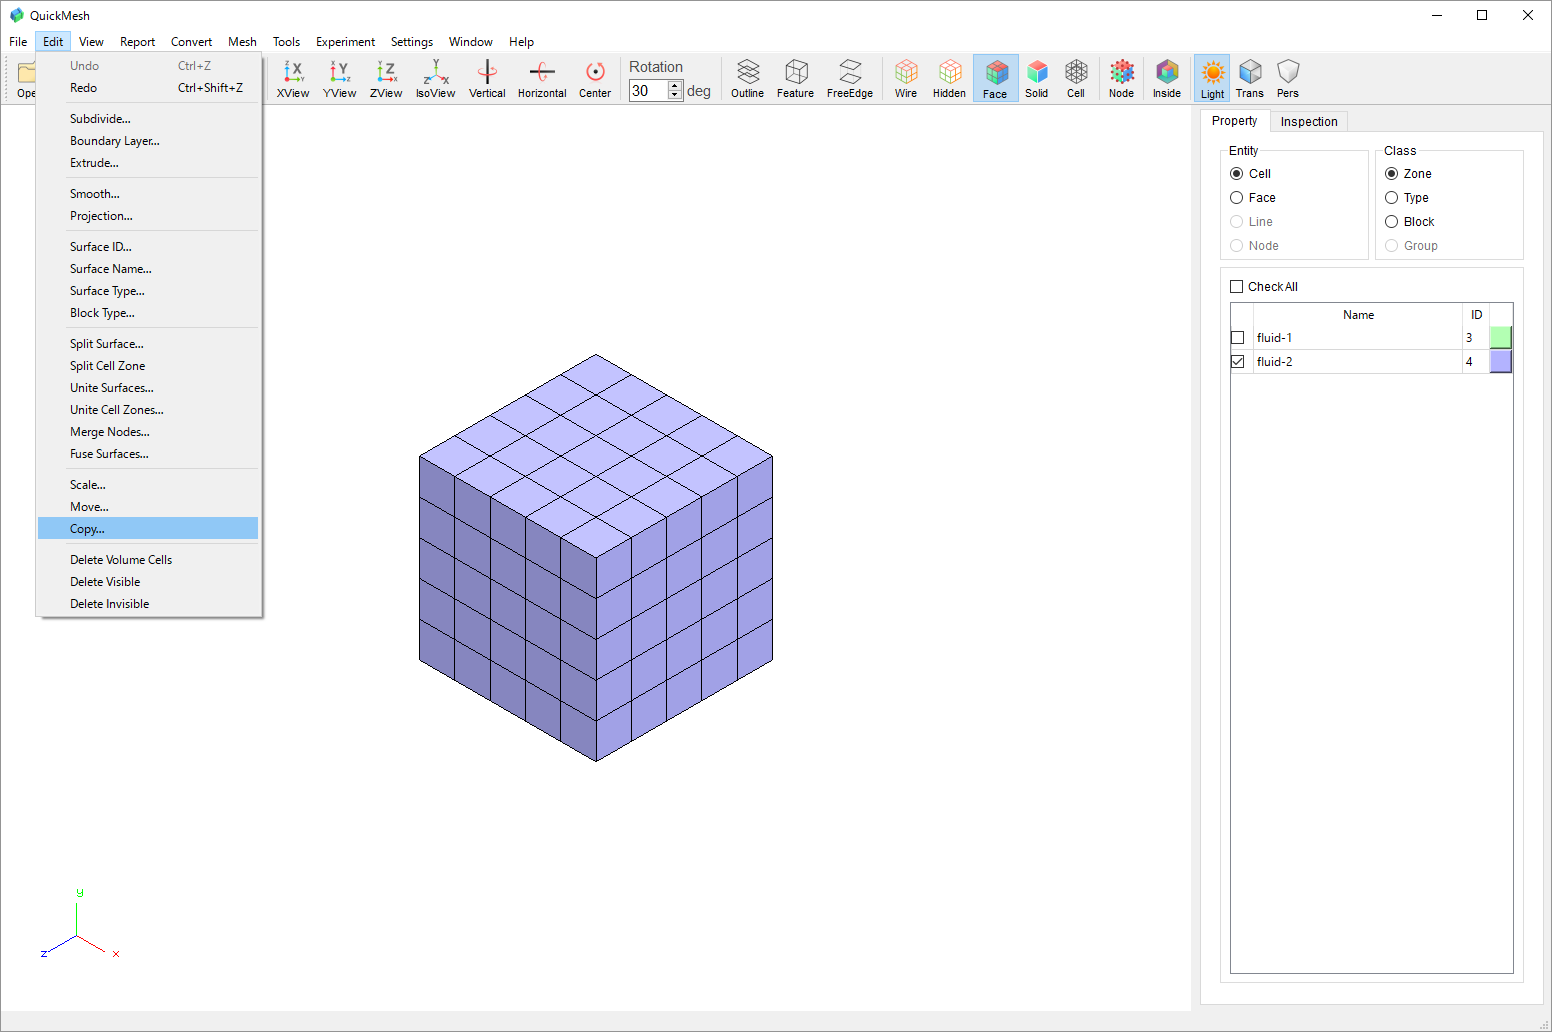
メニューバーのEdit→Copyを選択します。
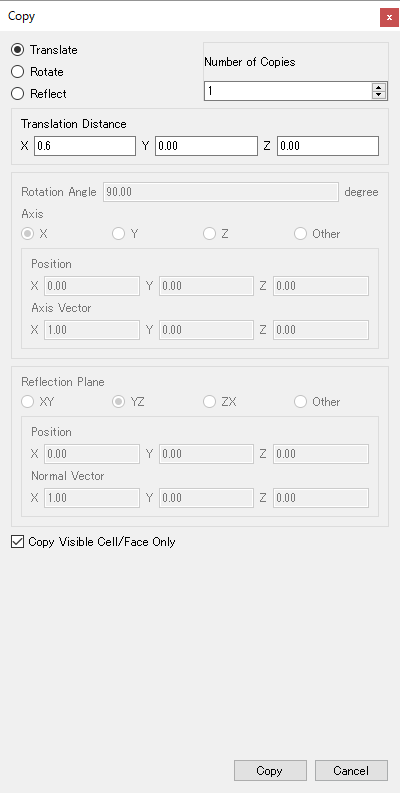
設定ウィンドウで複製先の位置や複製方法のパラメータを入力しCopy Visible Cell/Face OnlyをONにし、Copyボタンをクリックします。
プロパティタブで再びメッシュ全体を可視状態にするとfluid-2のみ複製されていることがわかります。
可視部分のメッシュを拡大する
移動と同様に図のようなメッシュに対して CellZone のfluid-2のサイズのみを拡大する変換をします。
プロパティタブのEntityがCell、ClassがZoneになっていることを確認して、リストのチェックボックスのON/OFFを切り替えてfluid-2のみを可視状態にします。

メニューバーのEdit→Scaleを選択します。
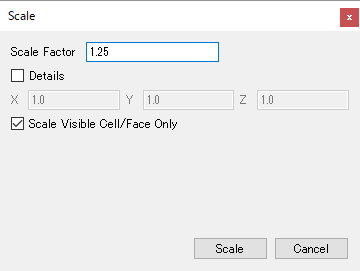
設定ウィンドウで拡大率のパラメータを入力しScale Visible Cell/Face OnlyをONにし、Scaleボタンをクリックします。
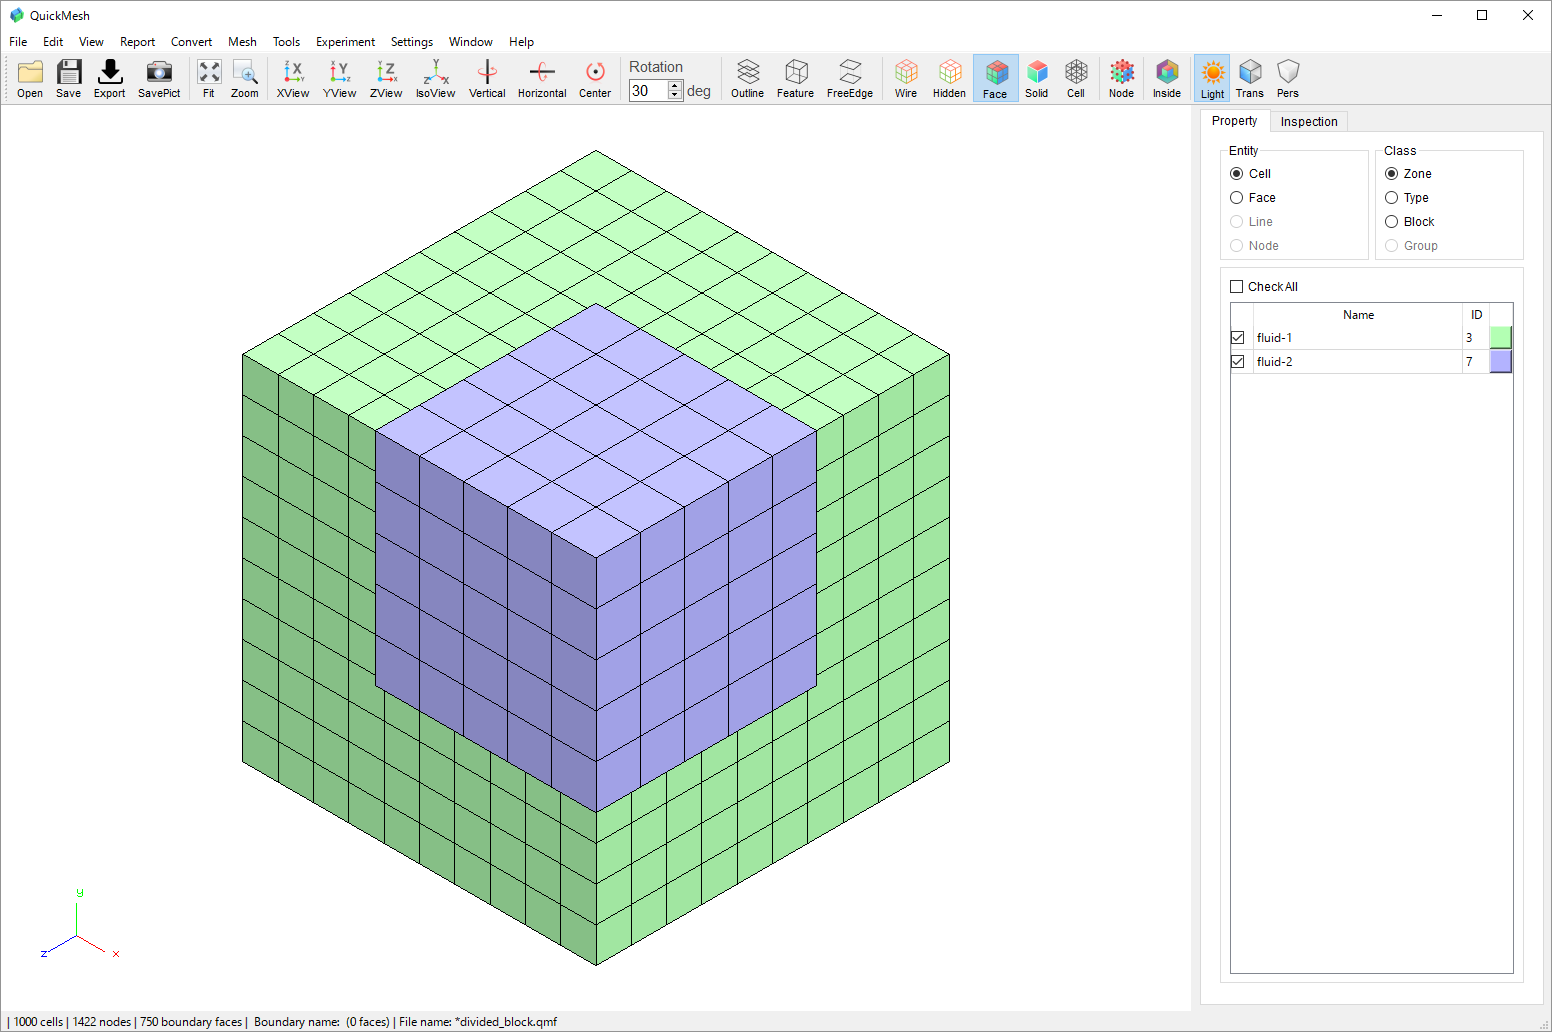
プロパティタブで再びメッシュ全体を可視状態にするとfluid-2のみ拡大されていることがわかります。